Gloves should be worn at all times to avoid contaminating the Lonestar sample flowpath. Turn off the Owlstone heater control box and allow the filter housing to cool. Set the gas purge to ON in the Lonestar software, wait for 10 seconds and then turn off the gas flow to the Lonestar system. Allow the Lonestar pressure to drop below 0.4barg before unscrewing the filter from the filter region.
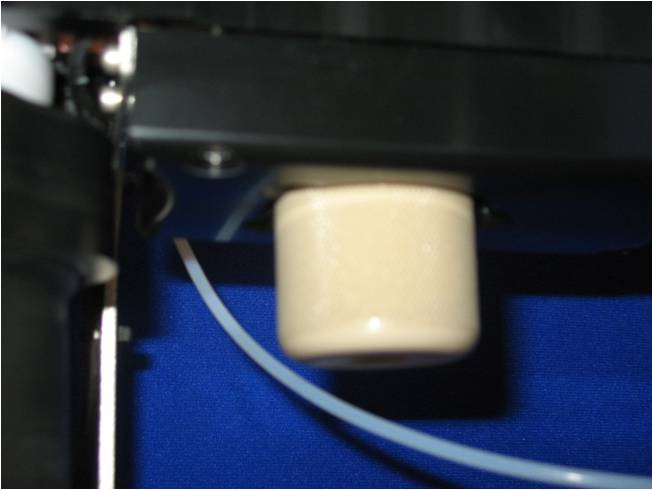
Filter housing
Carefully remove the PTFE seal and coated inner sealing ring from the top of the filter.

Removing the PTFE seal
Remove the top filter plate, the filter and the bottom filter plate, checking to ensure that the filter plates are undamaged. Assemble the filter once more with the bottom filter plate, the new filter, the top filter plate and then the PTFE seal and coated inner sealing ring.
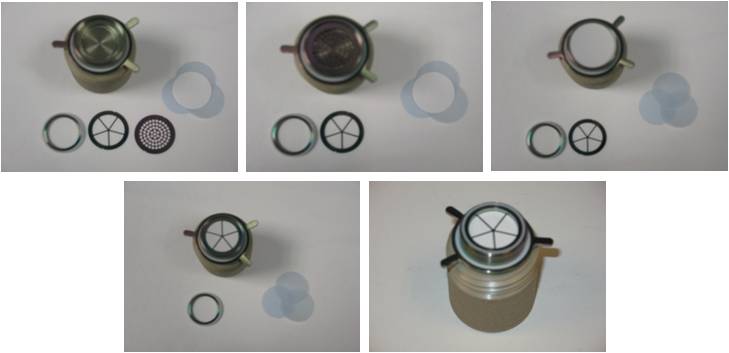
Replacing the filter assembly
Ensure the lower PTFE ring is in good condition, and that the o-ring circles the PTFE sealing ring. If the o-ring does not enclose the PTFE ring, then the filter may leak when re-inserted into the filter region. Replace these parts as required.
Screw the filter into the filter region. The two alignment lugs should be on the left side of the filter when inserting the filter into the filter region to align with the gaps in the filter region insulation.
A blank sample bottle should be placed in the bottle holder and screwed into the heated lid until snug. Turn on the Owlstone heater control box to restore the temperature set points within the bottle holder, heated lid and filter region. The carrier gas flow should be restored to the Lonestar system, waiting for the pressure to build before turning the gas purge OFF. Collect DF matrices, scanning from 0% to 100% dispersion field to determine the cleanliness of the new filter. It is expected for the new filter to be fairly contaminated, requiring several hours to achieve a state of cleanliness before the Lonestar system can be used for sample analysis.
Comments
Please sign in to leave a comment.